How to film a SaaS tutorial without editing software
For 80% of SaaS video work, opening Premiere is overkill. An onboarding walkthrough, a changelog clip, an internal "here's how this works" video — they all fit inside a recorder with a real editor. The trick is knowing which steps you can drop, and which you can't.
The end goal
One file, 60–180 seconds, 1080p or 4K, with burnt-in captions, ready to post. No transcoding, no project file, no "render farm". The whole job done in the time it takes to make a coffee.
total time for a 90-second SaaS tutorial when the recorder is the editor — once you've done it twice
The stack
Three things, in order:
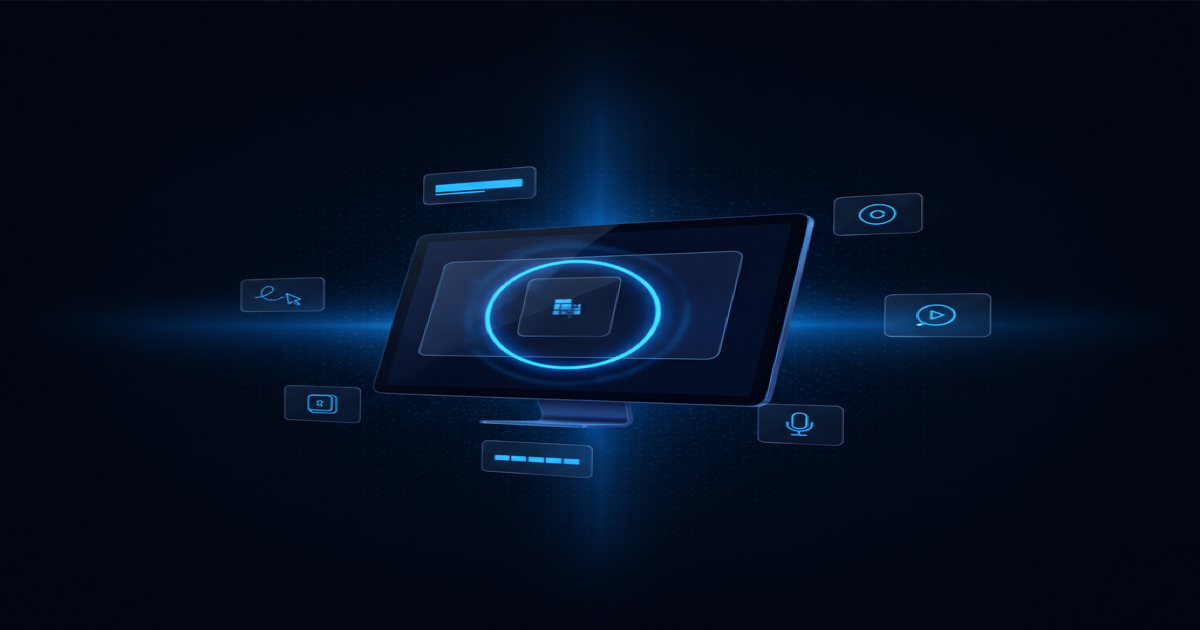
- A recorder with auto-zoom, cursor smoothing, a teleprompter, and on-device captions. This is the non-negotiable. Without auto-zoom you're keyframing in Premiere. Without a teleprompter your delivery is uneven. Without captions you lose mute viewers.
- A microphone. Built-in is fine for internal. USB condenser for anything customer-facing. Skip the audio interface.
- A pre-shoot checklist. Five lines. Same checklist as the product-demo post.
That's the whole stack. No editor.
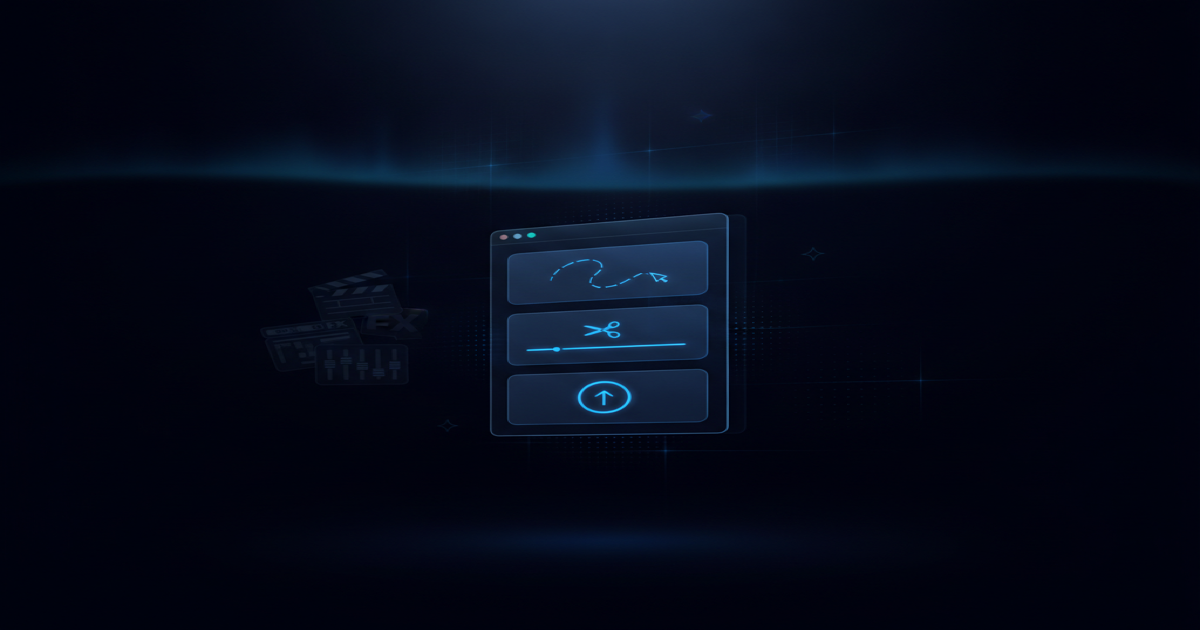
The workflow
Total time: ~25 minutes for a 90-second clip, once you've done it twice.
- Outline — 5 min. Three bullets: hook, walkthrough, CTA. Don't write the full script yet.
- Script — 5 min. Expand the bullets into a teleprompter-ready script. Short sentences. Contractions. Mark the emphasis.
- Record — 10 min. One pass with the teleprompter. Two if you flub badly. Pause between sections for clean cut points.
- Trim — 3 min. Cut the head, cut the tail, cut the obvious flubs. The auto-zooms are already there.
- Captions — 2 min. Generate on-device, scan for misspelt brand names, export.
You'll notice no transcoding step. With a real-time editor (preview is the export), there isn't one — you click export, the file appears in seconds, you upload.
What to skip
Most production tropes are wrong for this format:
- Skip music. A 90-second tutorial doesn't need a soundtrack. Music is a distraction from the voice; the voice is the product.
- Skip the intro animation. Your logo doesn't need to fly in. Open on the screen, talk over the screen, end on the screen.
- Skip B-roll. The screen is the B-roll. The webcam is optional.
- Skip the chapters. Below five minutes there's no point.
- Skip the outro. A static CTA frame is enough.
Every one of these saves 5–15 minutes and costs the viewer nothing.
When the stack isn't enough
Four cases require a real editor:
- Multi-clip story with separate locations or shoots.
- Sponsored or sponsored-style with cutaway B-roll.
- Heavy audio repair (clipping, breath removal, noise gating).
- Complex motion graphics — animated overlays, lower thirds with brand kits.
For everything else — onboarding, changelogs, how-tos, internal explainers — the recorder is the editor and the editor is the recorder. CursorFlow is built to be that stack; here's the longer story.
And if you want the same workflow for talking-head tutorials specifically, that's in this post.