How to record a product demo on Mac that doesn't look amateur
Most "bad" product demos aren't bad scripts. They're fine scripts ruined by seven small recording mistakes. Fix the mistakes and your script suddenly sounds better than it is.
The list, in order of how much they cost the viewer:
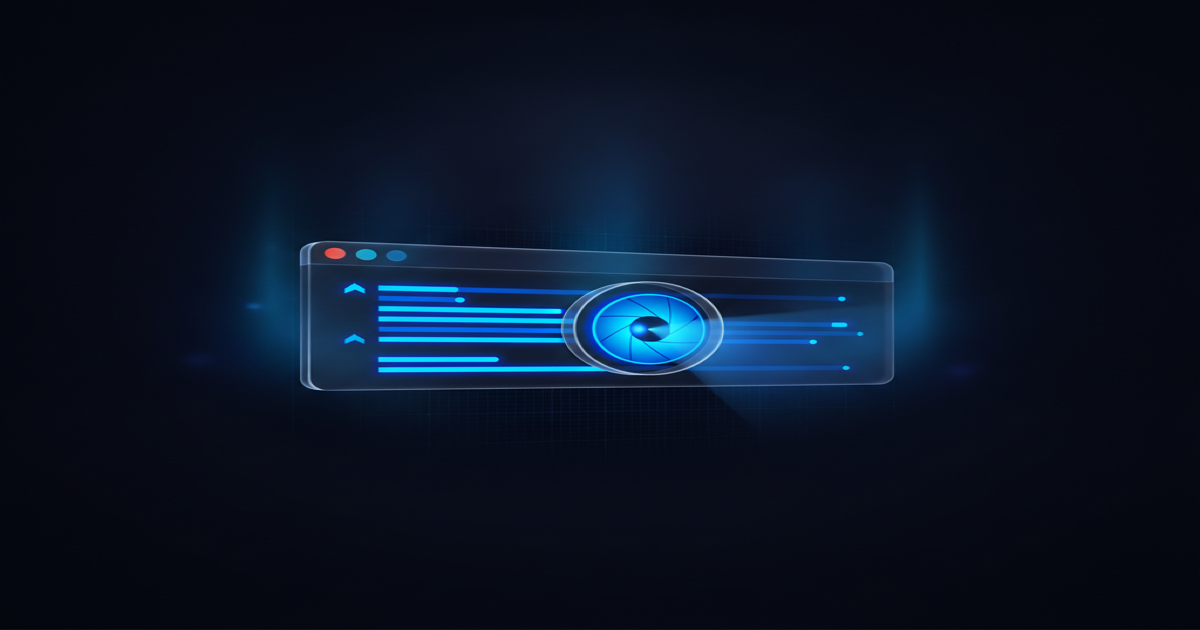
1. Zoom on what you're talking about
A 1080p viewer watching a 14-inch Retina recording is staring at 1.4× scale. A phone viewer is at 0.4×. The button you're pointing to is around 11 pixels tall on their screen. They cannot see it.
The fix isn't to scream "click the orange button". The fix is to push the camera in on what you clicked, hold for the action, then pull back. On Mac, you can do this manually (clip in Final Cut, set keyframes, retime), or automatically — every click triggers an inward zoom and the recorder does the work. More on why this matters here.
"Most homemade product demos either don't zoom at all, or zoom inconsistently. Inconsistent is worse — viewers notice the asymmetry."
2. Smooth the cursor
Your raw cursor has tremor in it. Two or three pixels of jitter per frame is invisible at 1× but distracting at 2×. Cursor motion smoothing turns those jitters into clean, deliberate strokes that read as "intentional" instead of "human hand on a trackpad".
Most viewers can't tell you what changed. They just decide the video looks more professional.
3. Write the script before you open the screen
If you record first and write later, your cuts will be visible. There will be filler — "uh", "let me find that", "wait" — and you'll cut around them, but the rhythm will still be wrong. If you write first and record to a teleprompter, your video has one rhythm: yours.
The teleprompter has to be on the same machine as the recording. A second screen makes your eyes drift. A phone propped on the desk makes you look down. More on built-in teleprompters here.
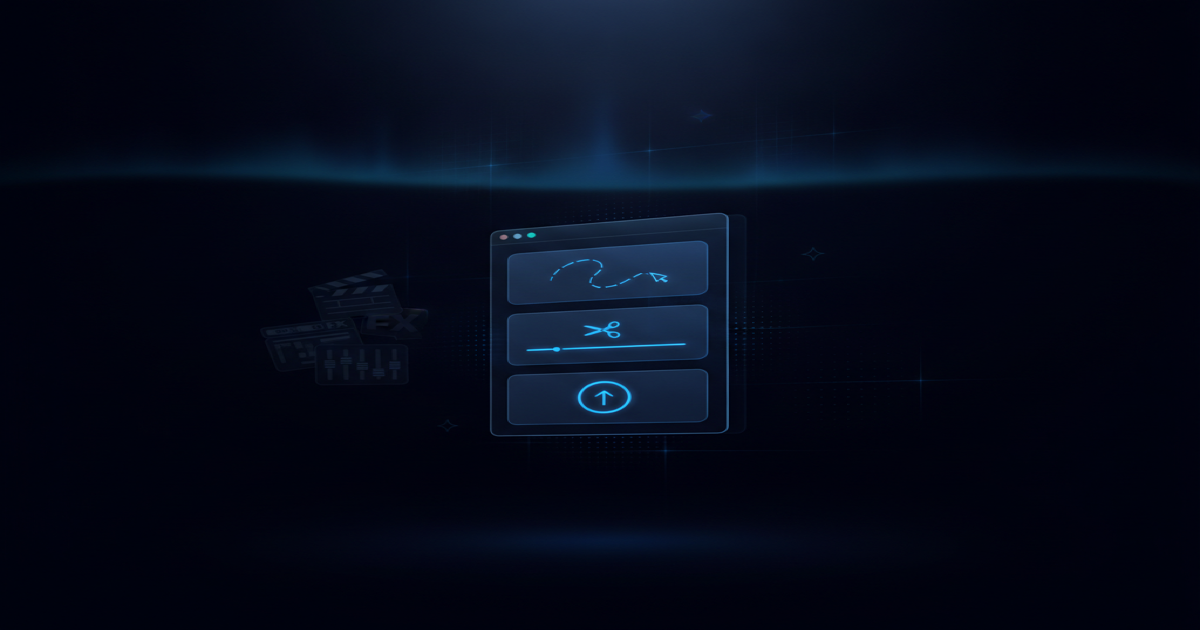
4. One take, not perfect takes
"Cut on every mistake" is editor talk. For a 90-second product demo, one continuous take with two or three planned pauses is faster to edit and easier to watch. Plan your pauses (between sections), record straight through, cut the obvious flubs in the editor.
5. Mind the dead air
The space between "let me click here" and the click is dead air. A two-second dead air feels like five. The two universal fixes:
- Talk over the click — describe what's about to happen before it does.
- Cut to a tight zoom during the click — the camera move masks the silence.
You can also speed-ramp the boring parts, but tasteful speed-ramping is harder than it looks. Cut and talk-over first.
6. Captions, even on YouTube
of social video is watched on mute — including the LinkedIn share of your demo
That includes the LinkedIn share of your demo. Burnt-in captions cost you 10 seconds in an editor that has them built in, and the finish-rate gains are real if not always dramatic. If your recorder generates captions on-device you skip the upload-to-rev step entirely. More on on-device captions here.
7. Webcam off for 90% of the demo
Your face in the corner is great in two specific cases: (a) you're saying hi at the start, or (b) the product itself is what you're showing on the cam. For everything in between, the webcam pulls attention from the screen — the thing you're literally trying to demo. Cut to webcam for the intro and outro. Cut it for the part the script demands a face. Leave it off for the rest.
The pre-shoot checklist
One pass before you hit record:
- Close Slack. Close Mail. Hide the Dock if your recorder doesn't auto-hide it.
- Set the screen to a sensible scaled resolution — "More Space" looks unreadable at 1080p output.
- Disable Do Not Disturb's notification dot. Disable notification banners.
- Move the cursor off the screen before you start so your viewer doesn't see it twitch in.
- Clear your Desktop. Empty Trash. Yes, both — viewers always notice both.
The whole list takes 30 seconds. Skipping it costs you a re-record.
What you don't need
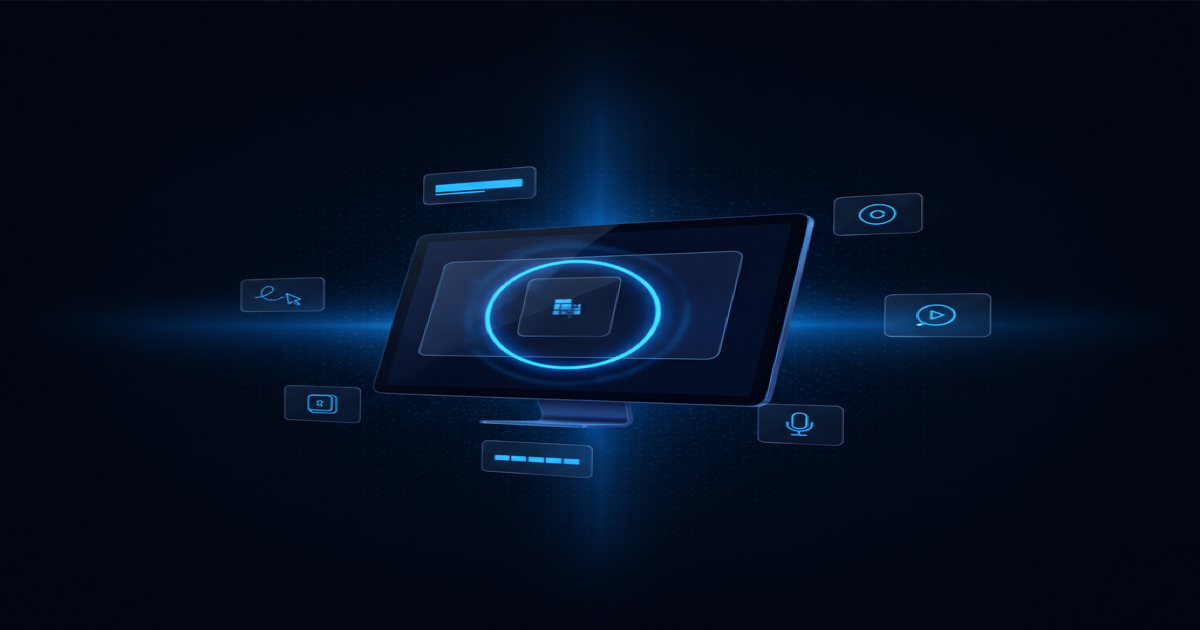
You don't need a Sony A7 IV for the webcam shot. The built-in camera on an M-series MacBook is fine if you point a light at your face. You don't need an audio interface. The MacBook microphone is bad; any USB condenser ($60–$100) is good enough. You don't need Final Cut for a 90-second video — a recorder with a real editor inside handles the entire pipeline.
What you do need is a recorder that does the cinematic part automatically, so you spend your effort on the script and the demo, not on keyframing zooms. That's the gap CursorFlow is built into. See the feature list or read about why I built it.